Promote Students to Another Class
This feature allows school/district admins and individual teachers (NOT teachers rostered as part of a school or district) to promote students from one class to the next. By doing so, the student is removed from the previous class and is associated with the new class.
Promoted students can still access content, handouts, and activities assigned to their previous class. Teachers will need to unassign the content manually if they don't want students to have continued access.
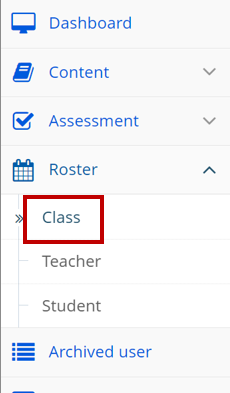
1. Click Roster on the left-hand side menu. Click Manage Classes / Class in the sub-menu. 
Not what you see? Click to see the old UI view.
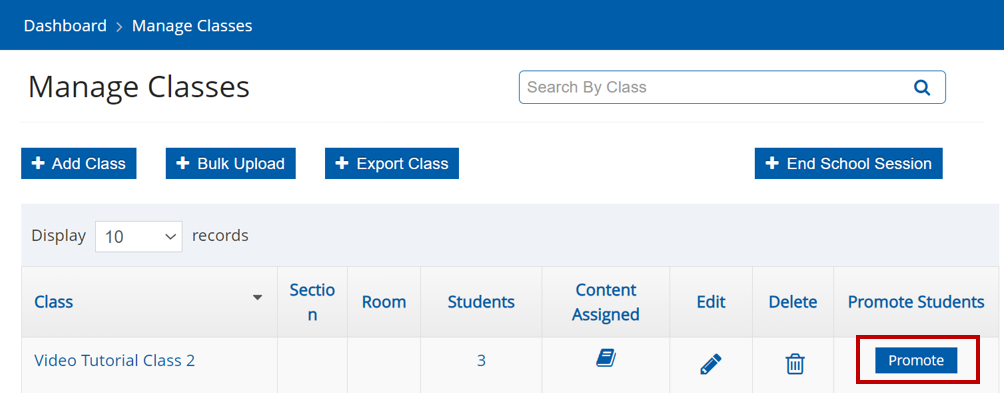
2. Click Promote next to the class you want to promote the student(s) out of.
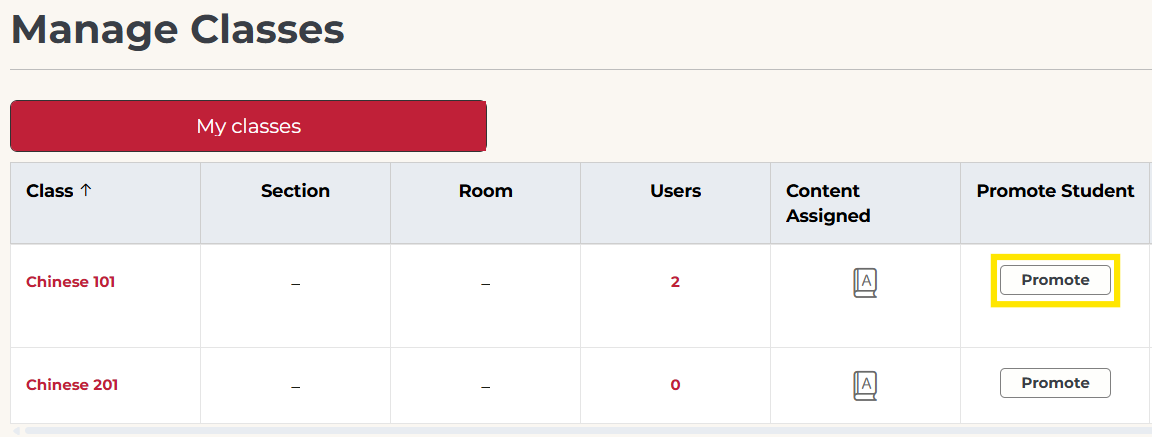
Not what you see? Click to see the old UI view.
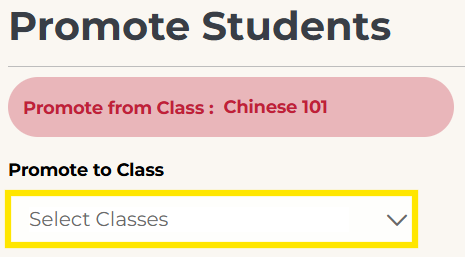
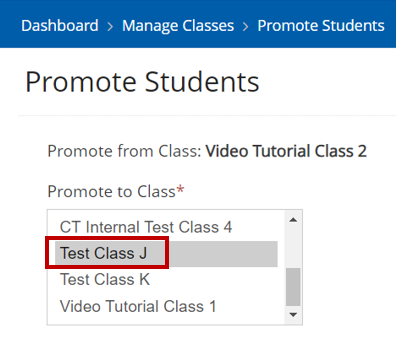
3. Under the Promote to Class dropdown, select the class (or classes) into which you want to promote the student(s).
Not what you see? Click to see the old UI view.
Select a Class to which you want to promote the student(s). You can select more than one class if you want to promote students to multiple classes.
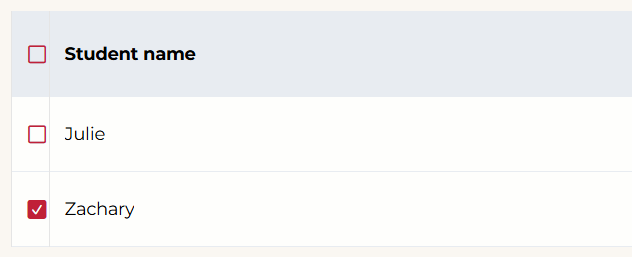
4. Check the checkbox next to each student's name. You can use the checkbox in the top row next to Student name to select all students.
Not what you see? Click to see the old UI view.
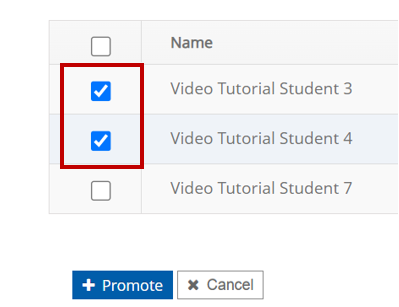
5. Click Promote.

You will see the below message when the student is promoted to the new class.

Not what you see? Click to see the old UI view.
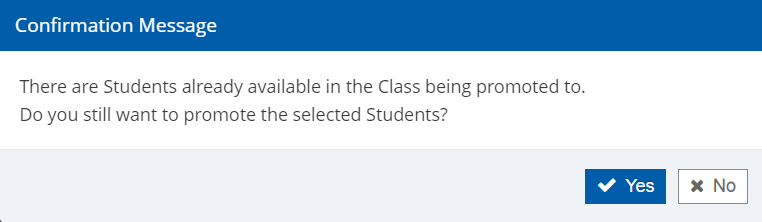

(Note: The Promote Student feature will be enabled for only those classes in which the student is already rostered. You can add students to the class to enable the promote feature.)
Was this article helpful?
That’s Great!
Thank you for your feedback
Sorry! We couldn't be helpful
Thank you for your feedback
Feedback sent
We appreciate your effort and will try to fix the article