Handouts
TABLE OF CONTENTS
Introduction
This guide will cover what you can find under the Handouts tab on your FluencyLink teacher account. Handouts consist of a prompt to which students can submit text or upload a file as a response. This differs from Assignable Activities.
Not what you see? Click to see the old UI view.

Add Handouts
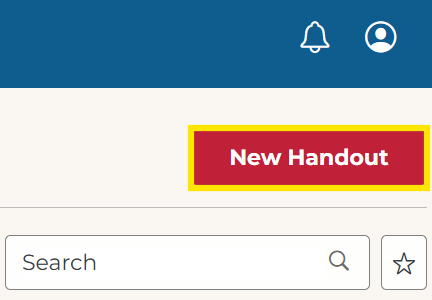
1. To add Handouts, select New Handout.
Not what you see? Click to see the old UI view.
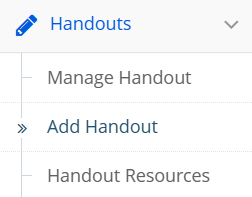
To add Handouts, select Handouts > Add Handout.
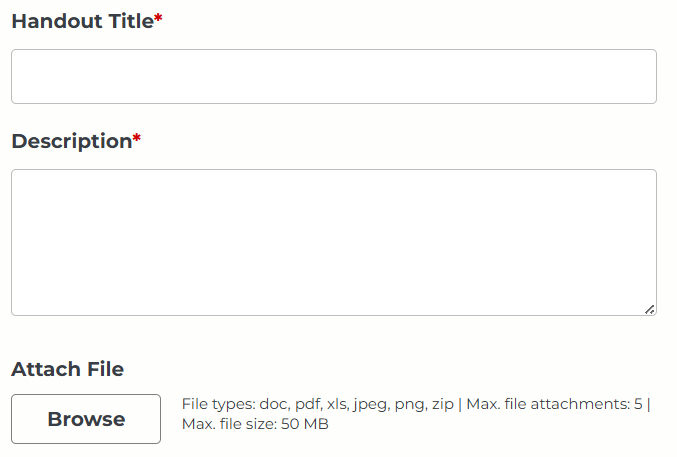
2. Enter the following information as needed or desired.
- Title: Mandatory
- Description: Mandatory
- Attach File: Optional. File types: doc, pdf, xls, jpeg, png, zip | Max. file attachments: 5 | Max. file size: 50 MB
Not what you see? Click to see the old UI view.
Enter the following information as needed or desired.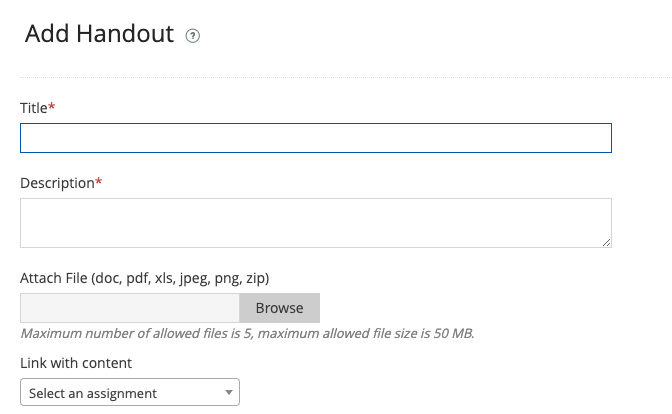
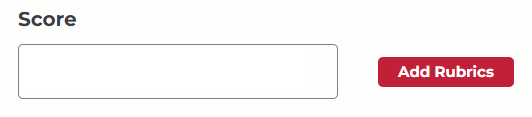
3. (Optional) Add a score, or click Add Rubrics to configure a rubric. You can either use an existing rubric or create a new one. Further instructions can be found at the bottom of this page.
Note: If you are using the old UI, you cannot add custom scores/rubrics. Instead, you can give a score out of 10.
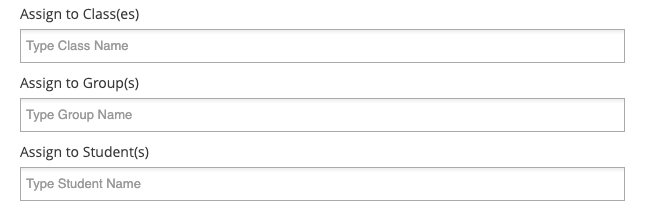
4. Assign to at least one class, group, or student.
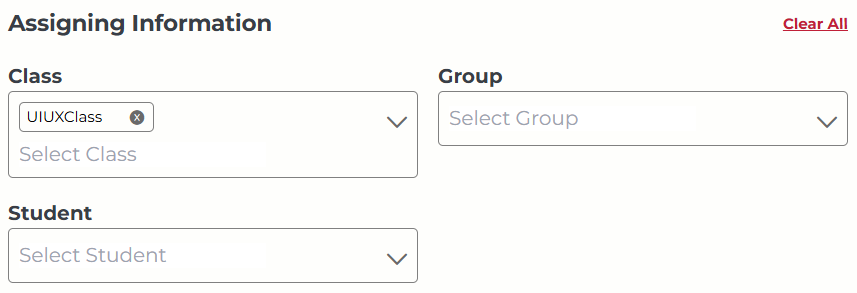
Not what you see? Click to see the old UI view.
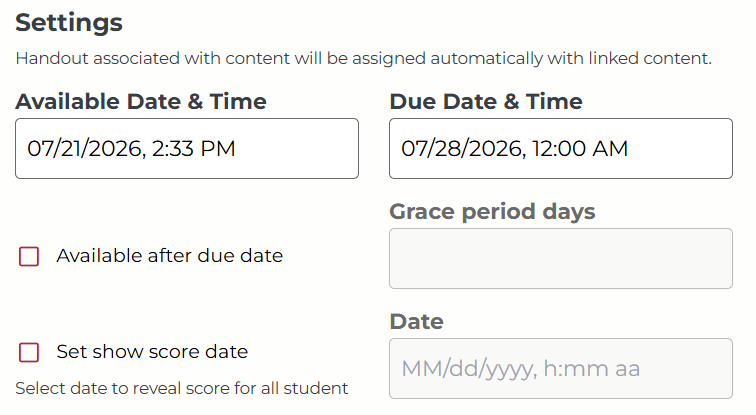
5. (Optional) Configure the date settings.
- Available Date & Time
- Due Date & Time
- Available After Due Date: Check the box to allow students to submit after the due date.
Not what you see? Click to see the old UI view.
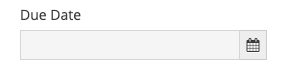
Optionally, you can add a due date.
6. Click Assign / Save.
Manage Handouts
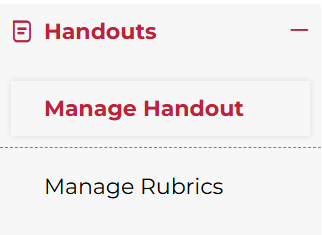
Handouts > Manage Handout is where you can edit and clone Handouts, as well as view and evaluate student responses.
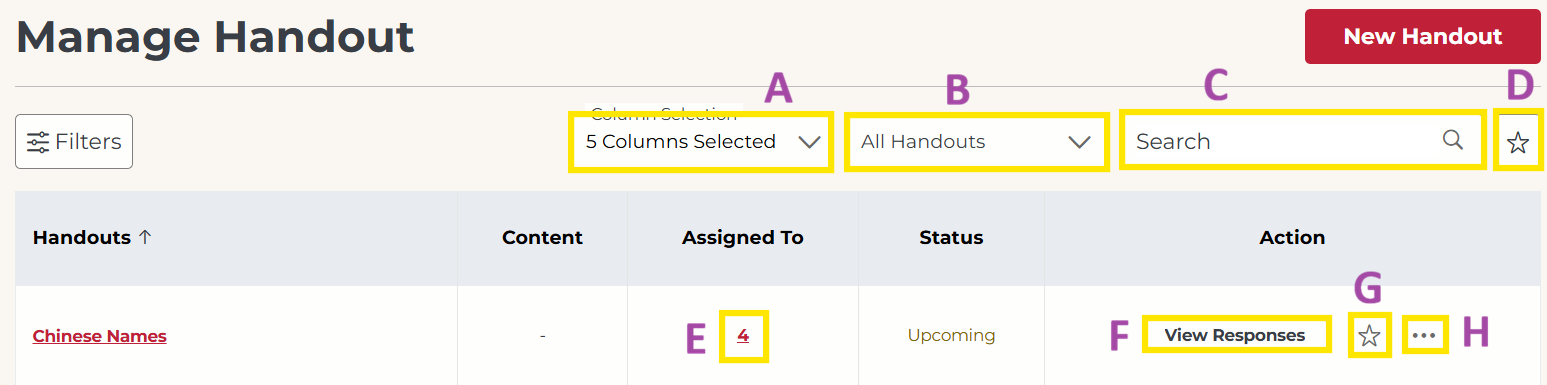
A. Column Selection: By default, 5 columns are shown. You may customize your view by adding/removing columns.
B. Status: Use this dropdown to filter handouts by status (All Handouts, Overdue, Upcoming, Completed)
C. Search: Type to search by title.
D. View Starred: Click to view starred (favorited) handouts.
E. Assigned To: Click the number to see the list of classes/students/groups the handout was assigned to.
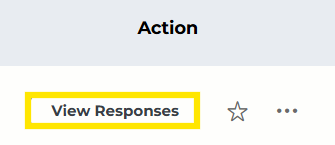
F. View Responses: Click here to view student responses.
G. Star: Click to add to your list of starred (favorited) handouts.
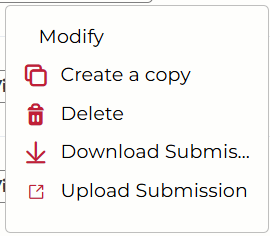
H. More: Click the 3 dots to view additional options.
- Modify
- Create a copy
- Delete
- Download Submissions
- Upload Submission
Not what you see? Click to see the old UI view.


Evaluate Handouts Response
Handouts may be given a numerical score (if you enabled this option) and personalized text feedback.
1. Click View Responses under the Action column.
Not what you see? Click to see the old UI view.
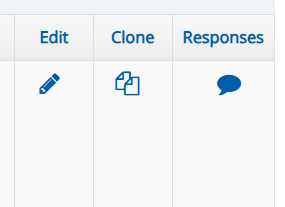
From Manage Handout, click on a filled blue bubble in the Response column to evaluate Handouts.
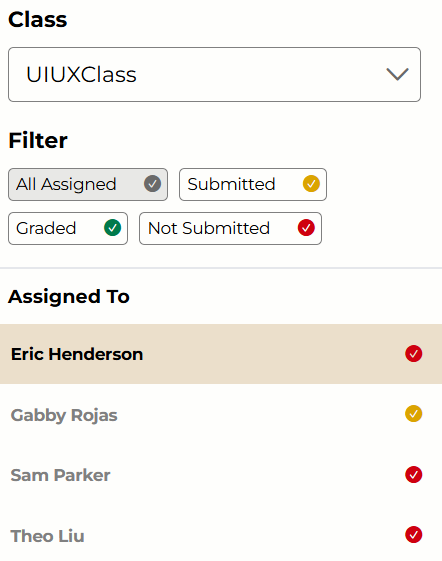
2. Select an individual student to view their responses. You can filter students by class and status (All Assigned, Submitted, Graded, Not Submitted).
Not what you see? Click to see the old UI view.
Select a Class/Group/Student to expand the responses.

3. If you added a score option or grading rubric when creating the handout, scroll down to see it.
Score:
Type a number in the empty box.

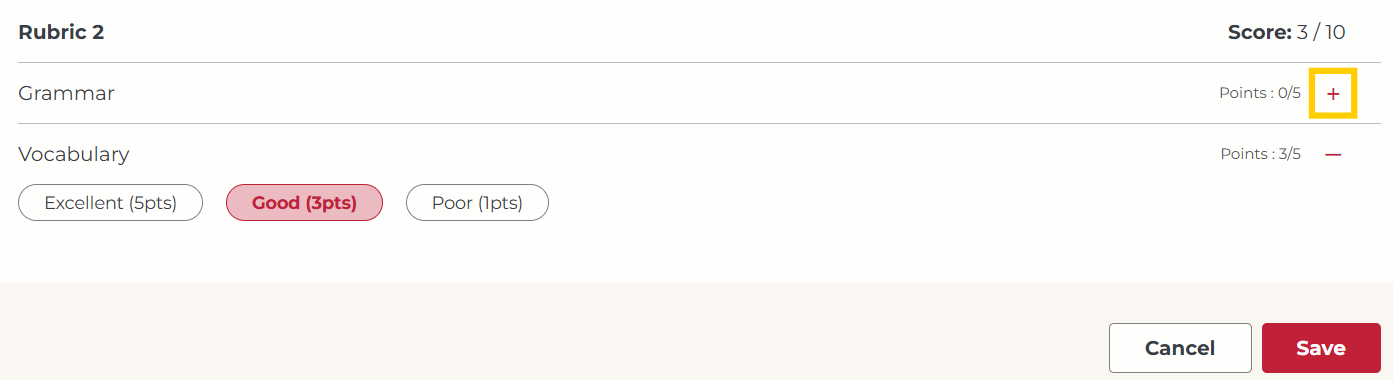
Rubric:
Use the + buttons to expand categories, then select the appropriate scores.
Not what you see? Click to see the old UI view.
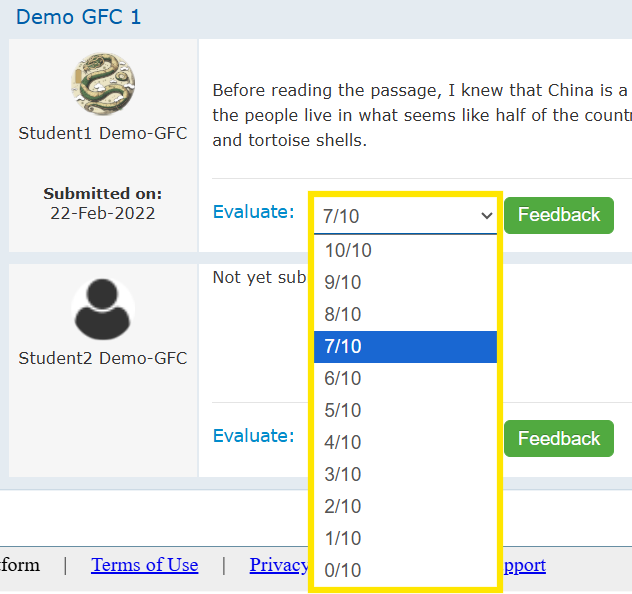
Select a score from 1-10 from the dropdown.
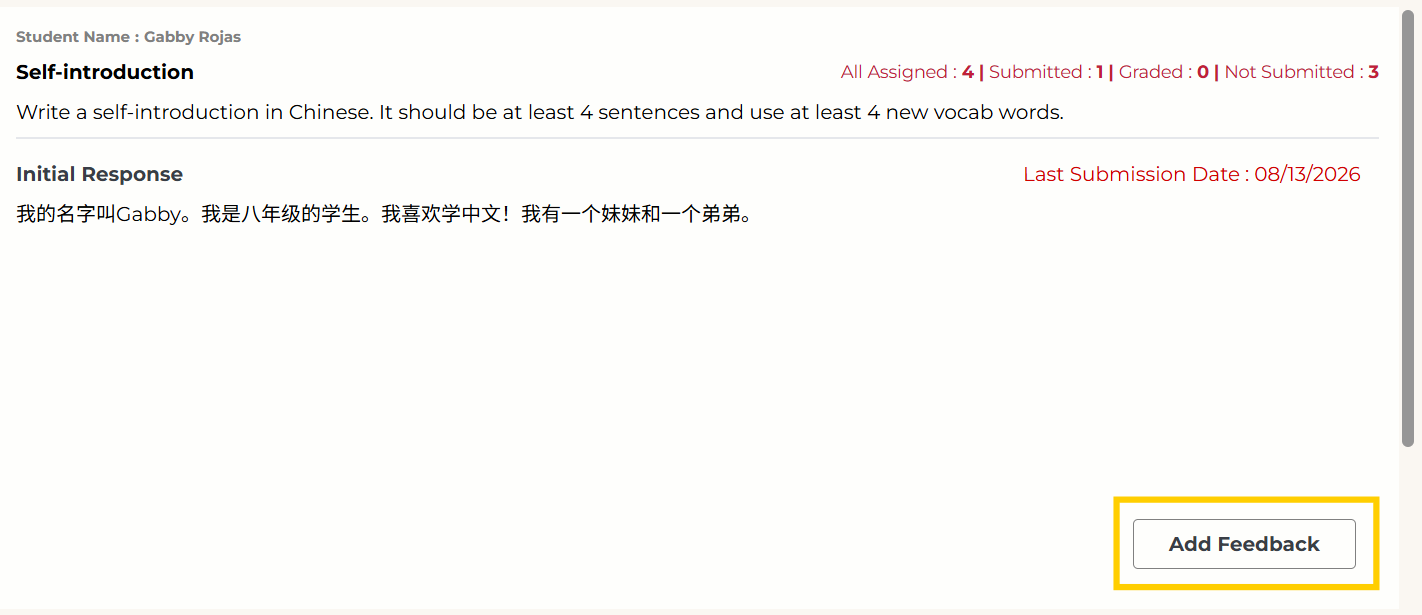
4. Click Add Feedback and enter a response to send to the student.
Not what you see? Click to see the old UI view.
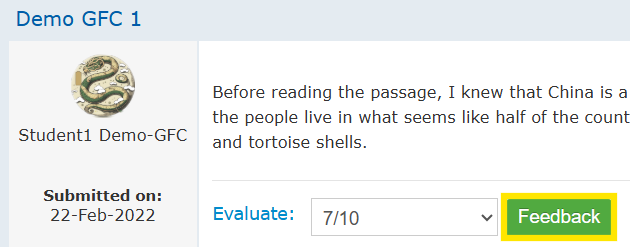
If desired, select Feedback and enter a response to send to the student.
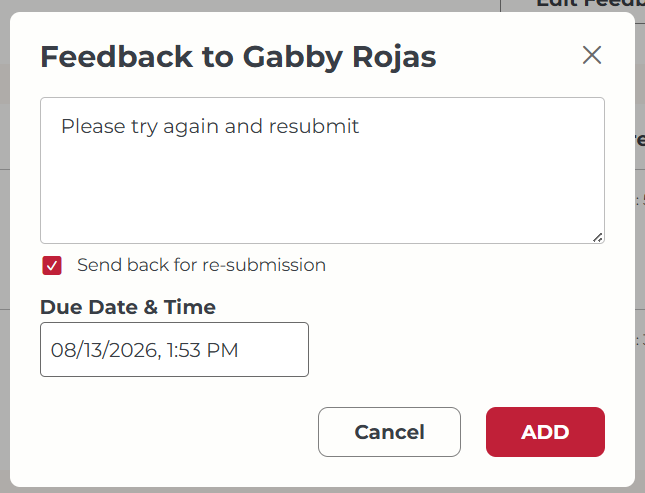
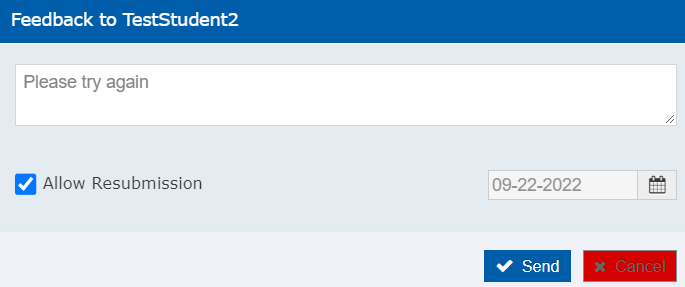
5. If desired, select Send back for re-submission and choose a new due date using the calendar. Click Add to finalize your feedback.
Not what you see? Click to see the old UI view.
If desired, select Allow Resubmission and choose a new due date using the calendar. Click Send to finalize your feedback.
6. Click Save.
Add Rubrics
New Rubric
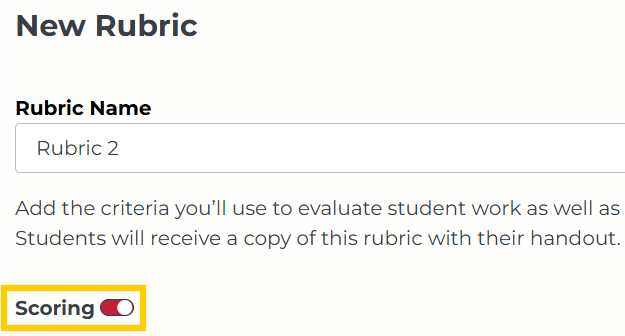
To create a new rubric, type a Rubric Name and toggle the Scoring toggle on.
You will see a row of square tiles. Each row is a criteria for the rubric. In the first square, type the title of the grading criteria. In the following squares, you will define the possible scores for this criteria. For example:
- Excellent: 5 points
- Good: 3 points
- Poor: 1 point
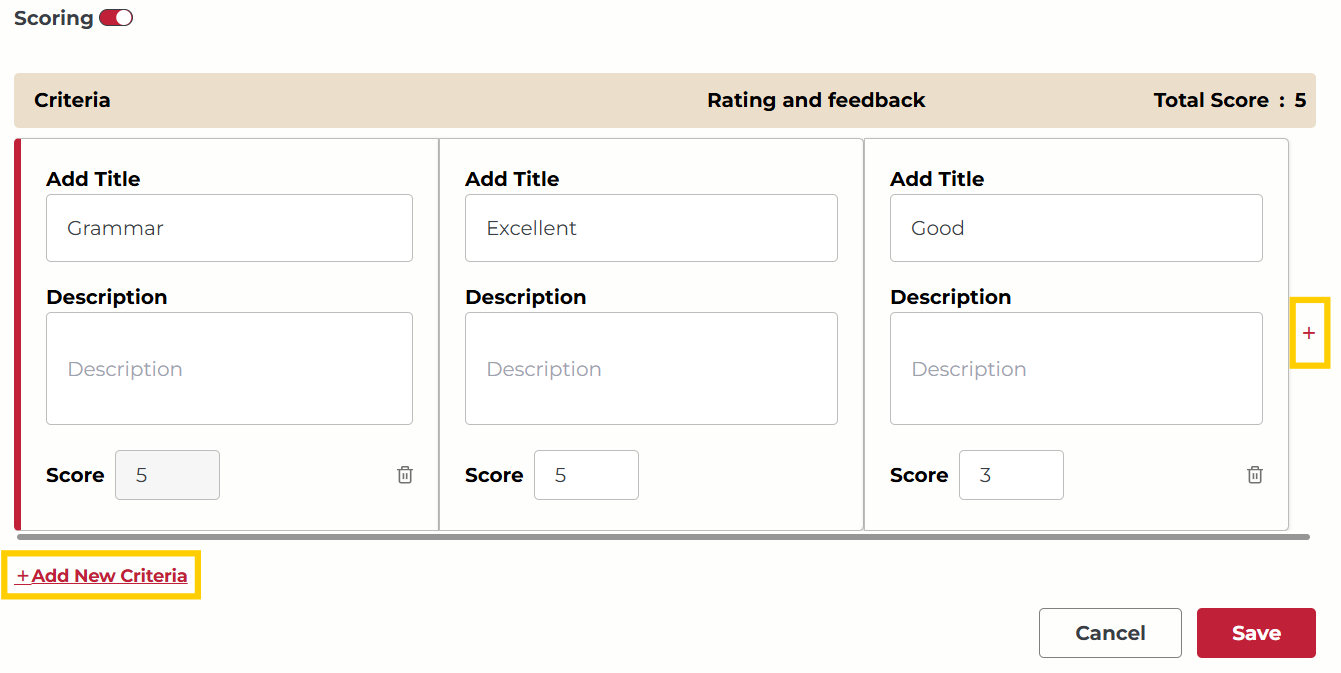
- Click the + button on the right to add more possible scores.
- Click the +Add New Criteria button on the bottom to add another row.
- Click Save when you are done.
Use Existing Rubric
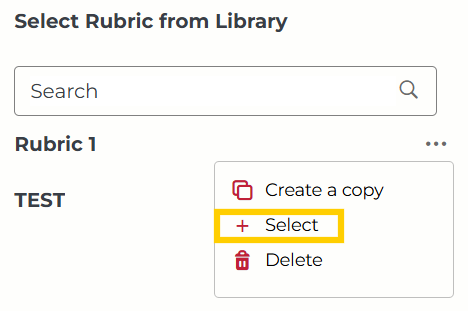
To reuse an existing rubric that you made previously, go to the Select Rubric from Library panel on the right. Click the 3 dots next to the rubric you would like to use. Then click + Select.
Was this article helpful?
That’s Great!
Thank you for your feedback
Sorry! We couldn't be helpful
Thank you for your feedback
Feedback sent
We appreciate your effort and will try to fix the article