Using Groups
TABLE OF CONTENTS
Teachers can create groups to assign content, activities, and handouts to a portion of their students within a class or across multiple classes.
Create group
1. Log in to FluencyLink
2. On the lefthand menu, click Roster and then Manage Groups.
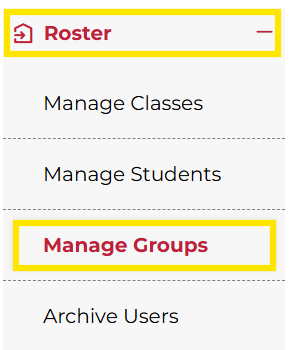
Not what you see? Click to see the old UI view.
Go to "Group"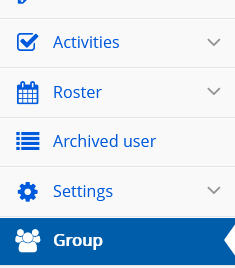
3. In the top right corner, click Add Group.
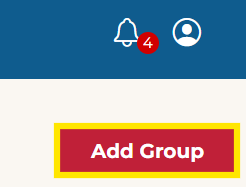
Not what you see? Click to see the old UI view.
Click on "Add Group"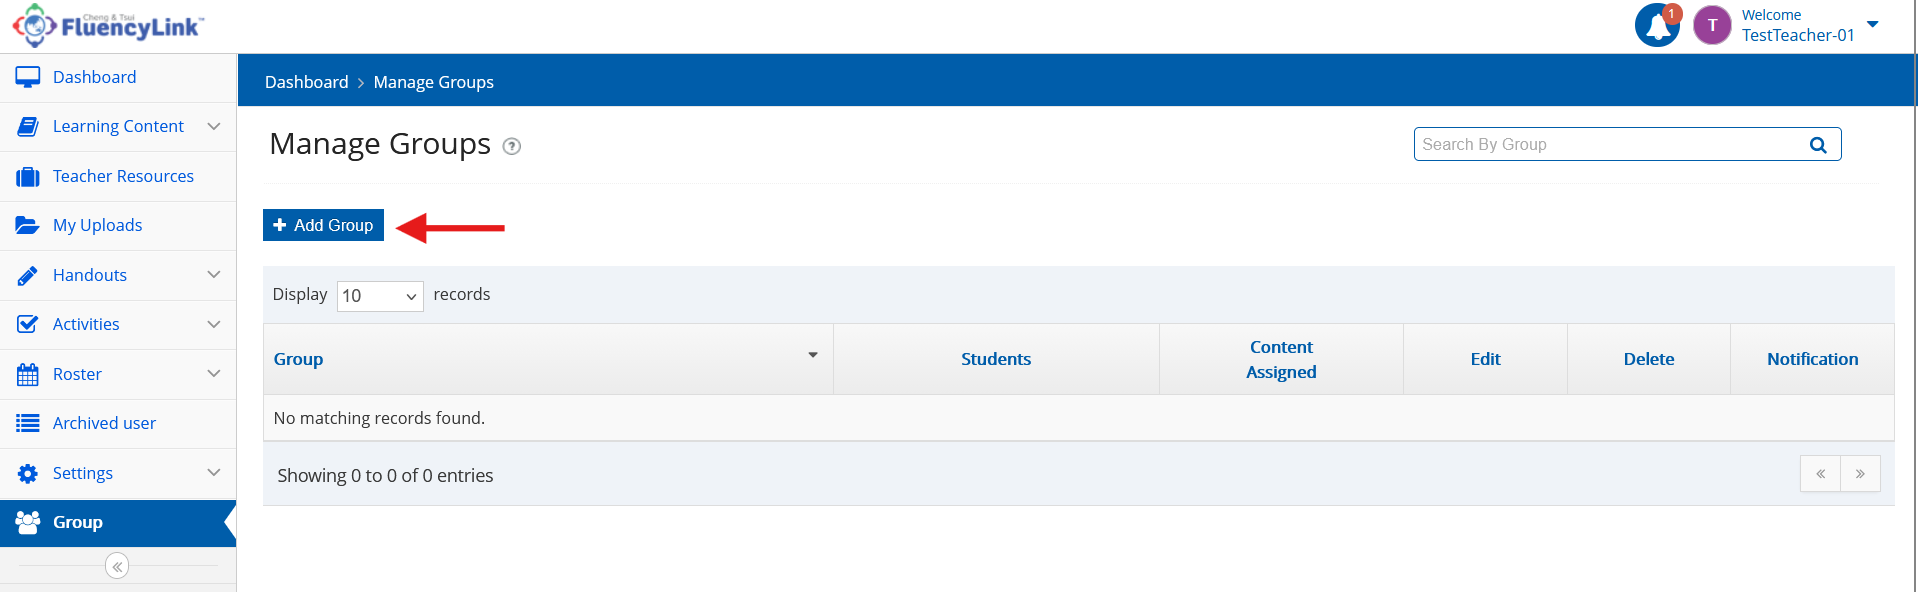
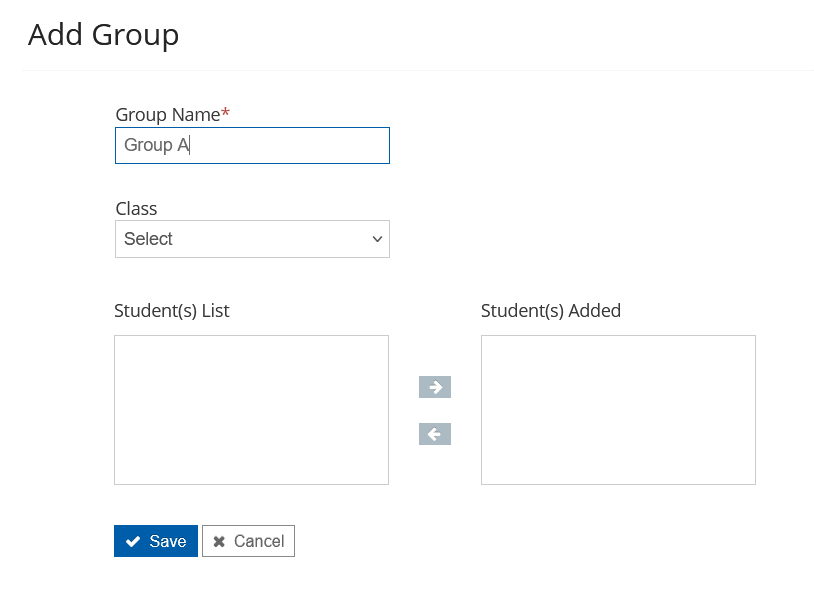
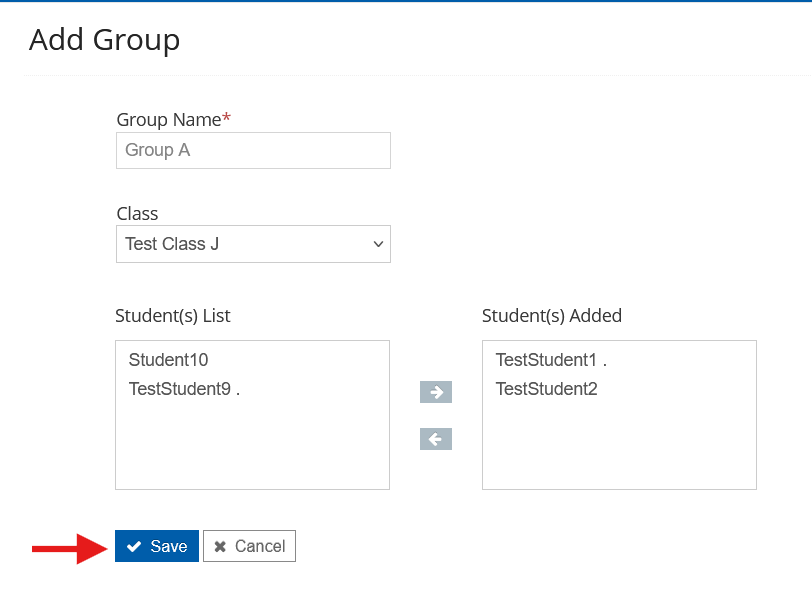
4. Enter in the name of your group
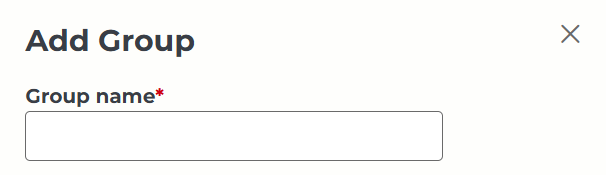
Not what you see? Click to see the old UI view.
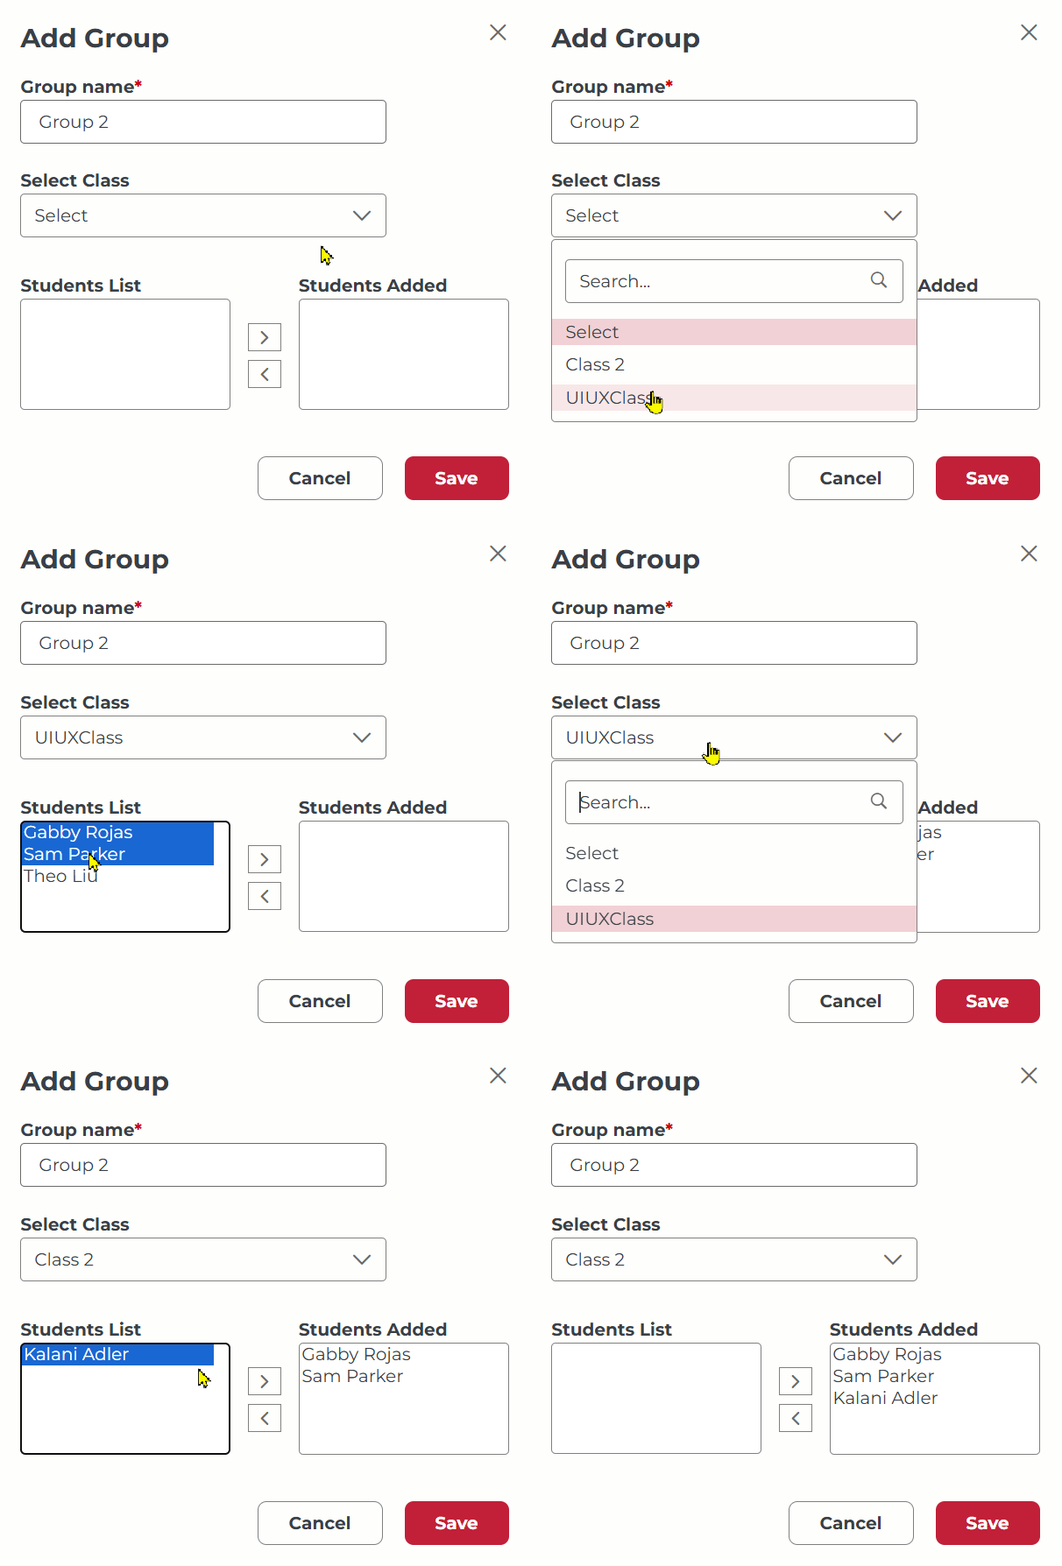
5. Use the Select Class dropdown to choose a class, then select the students. Click the > arrow to add students to the group.
- To select multiple students, hold down the CTRL key (Windows) or CMD key (Mac).
- You can add students from multiple classes to the same group.
Not what you see? Click to see the old UI view.
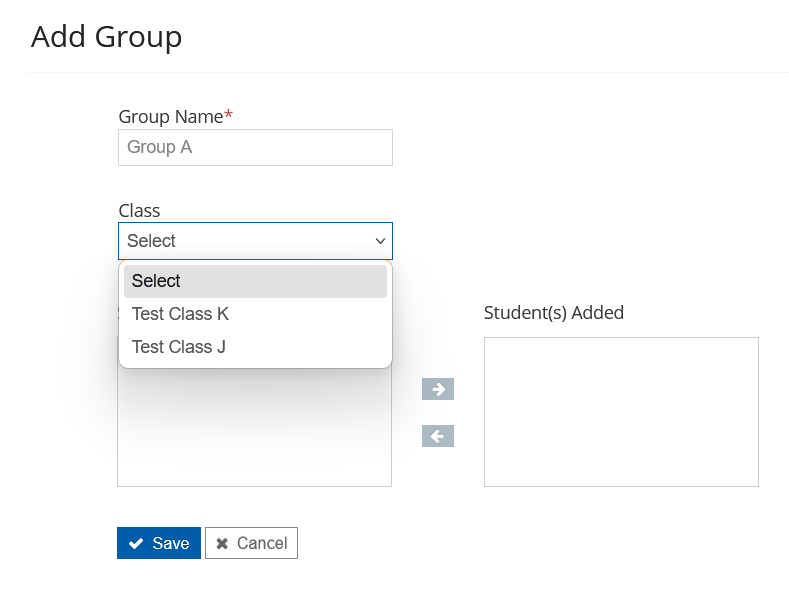
6. Click Save when done.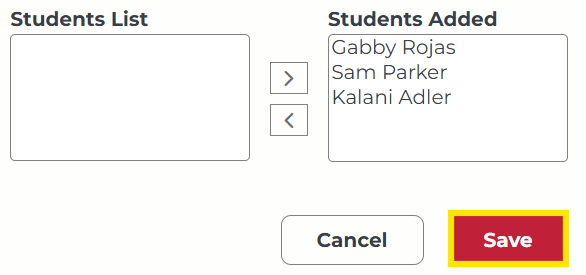
Not what you see? Click to see the old UI view.
Edit group / remove students
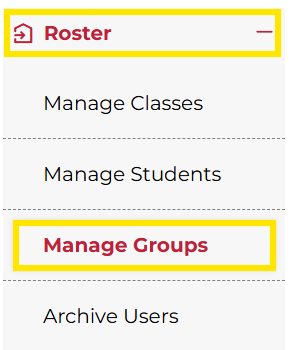
1. On the lefthand menu, click Roster and then Manage Groups.
Not what you see? Click to see the old UI view.
Go to "Group"
2. Under the Action column, click Edit.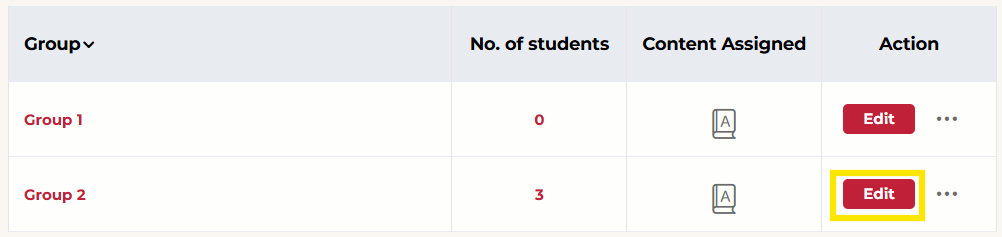
Not what you see? Click to see the old UI view.
Click on the "Edit" pencil icon for the group you want to change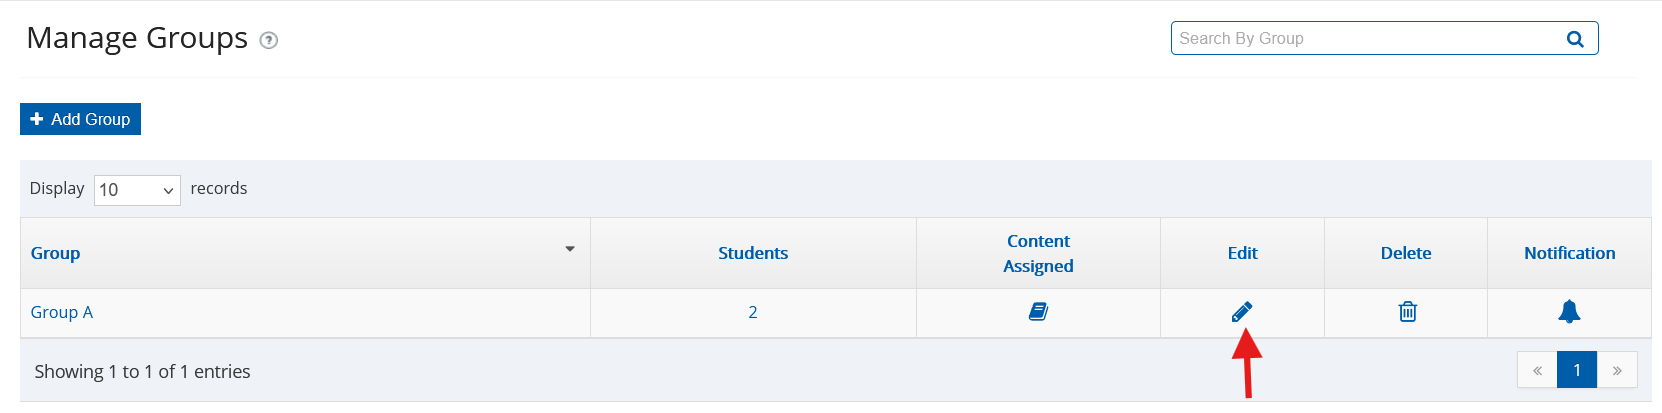
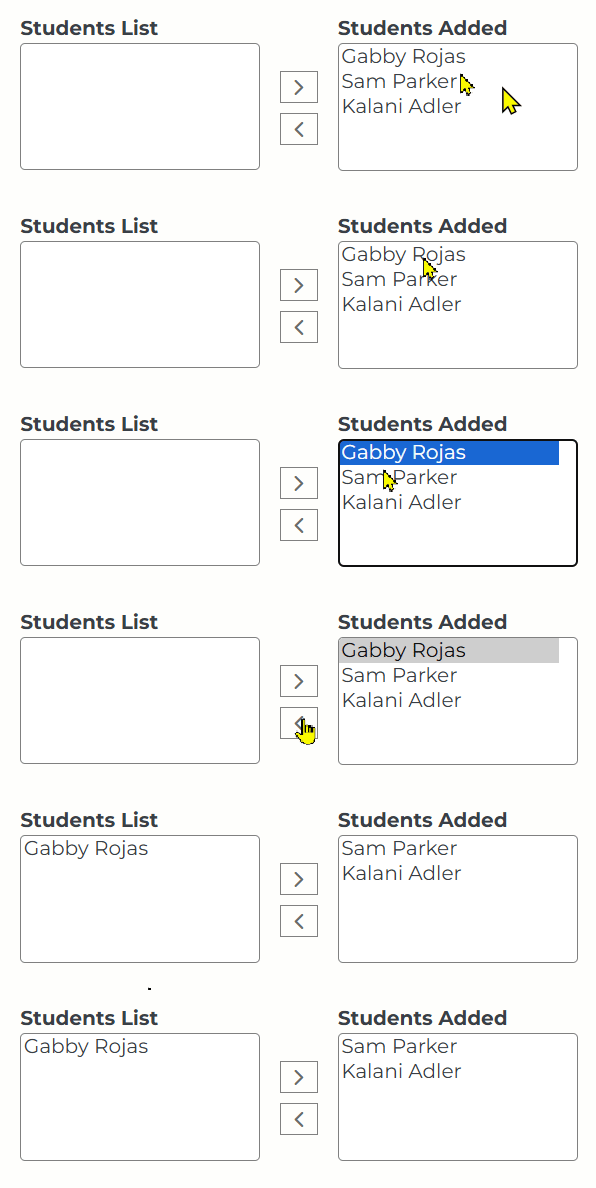
3. To remove students from the group, select the names of the students in the Students Added section. Click on the < arrow to remove the students.
- To select multiple students, hold down the CTRL key (Windows) or CMD key (Mac).
Not what you see? Click to see the old UI view.
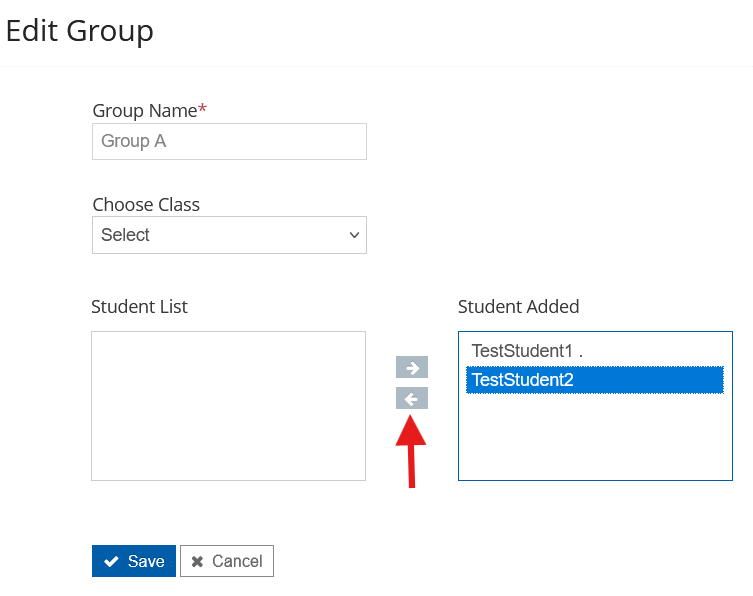
4. While editing the group, you can also:
- Change the name of the group
- Add students to the group (see the previous section for details)
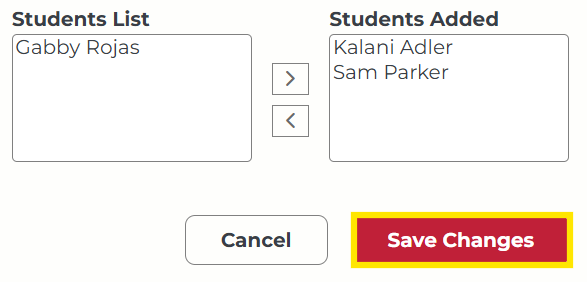
5. Click Save Changes.
Not what you see? Click to see the old UI view.
After making your changes, click "Save"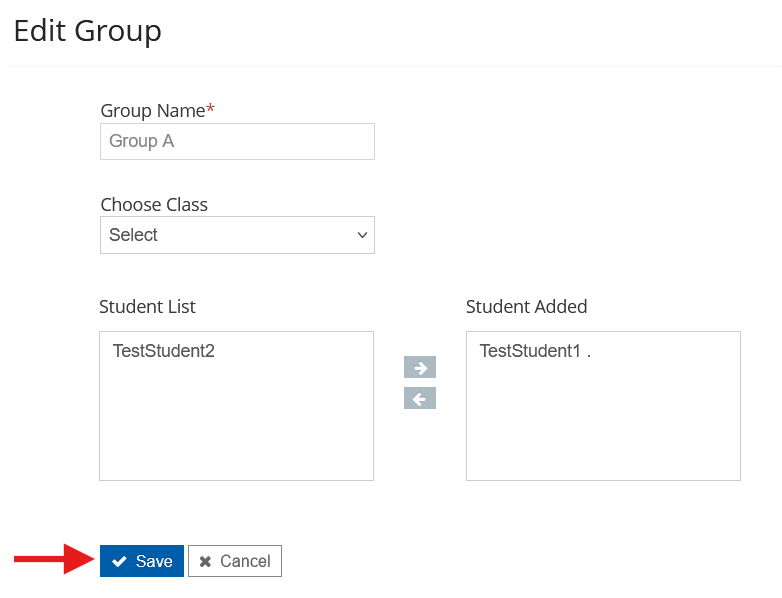
Delete group
1. You will need to remove all students from the group before deleting the group. See the section above for instructions.
2. In the Action column, click the 3 dots. Then click Delete.
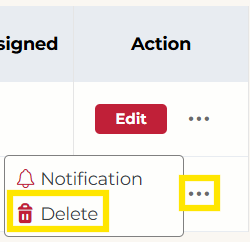
Not what you see? Click to see the old UI view.
Click on the "Delete" icon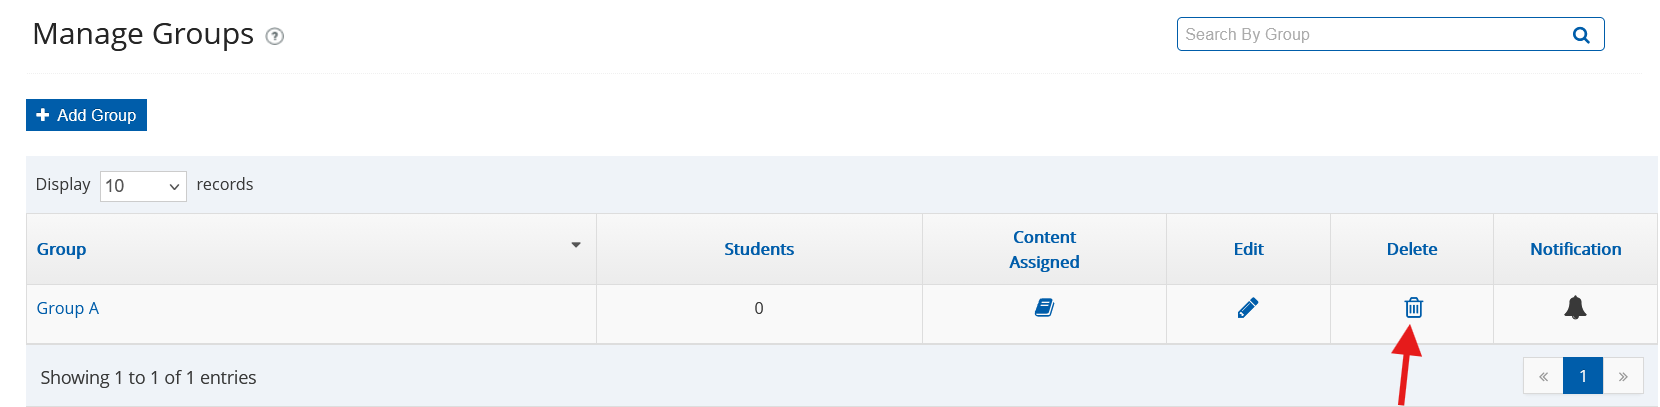
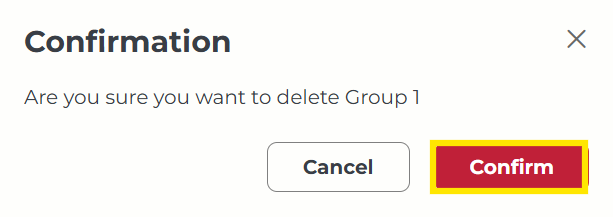
3. Click Confirm.
Not what you see? Click to see the old UI view.
Click "Yes" to confirm you want to delete the group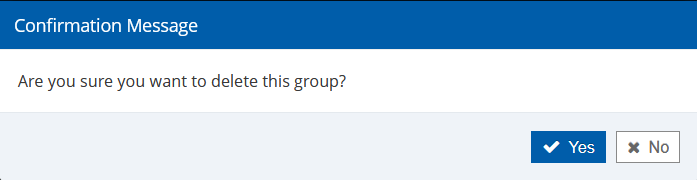
Was this article helpful?
That’s Great!
Thank you for your feedback
Sorry! We couldn't be helpful
Thank you for your feedback
Feedback sent
We appreciate your effort and will try to fix the article