Book Interface
TABLE OF CONTENTS
The platform provides different tools for users to enable them to easily navigate eBooks in the eReader.
1. Log in to the portal.
2. Go to the Library and next to the eBook you want to read, click Start Now or Resume.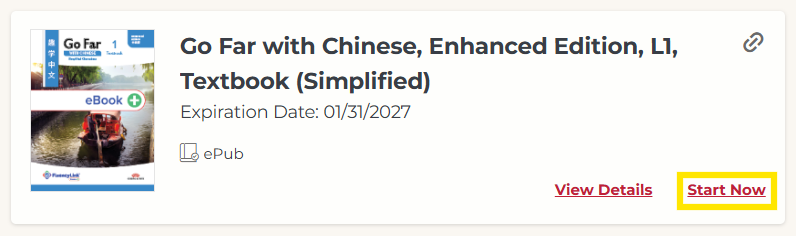
Not what you see? Click to see the old UI view.
Go to the Library and click on the cover/thumbnail to launch the content.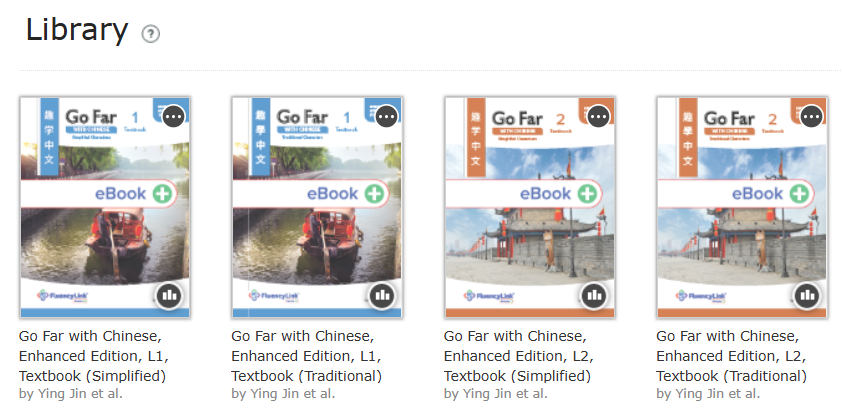
Not what you see? Click to see the old UI view.

Menu
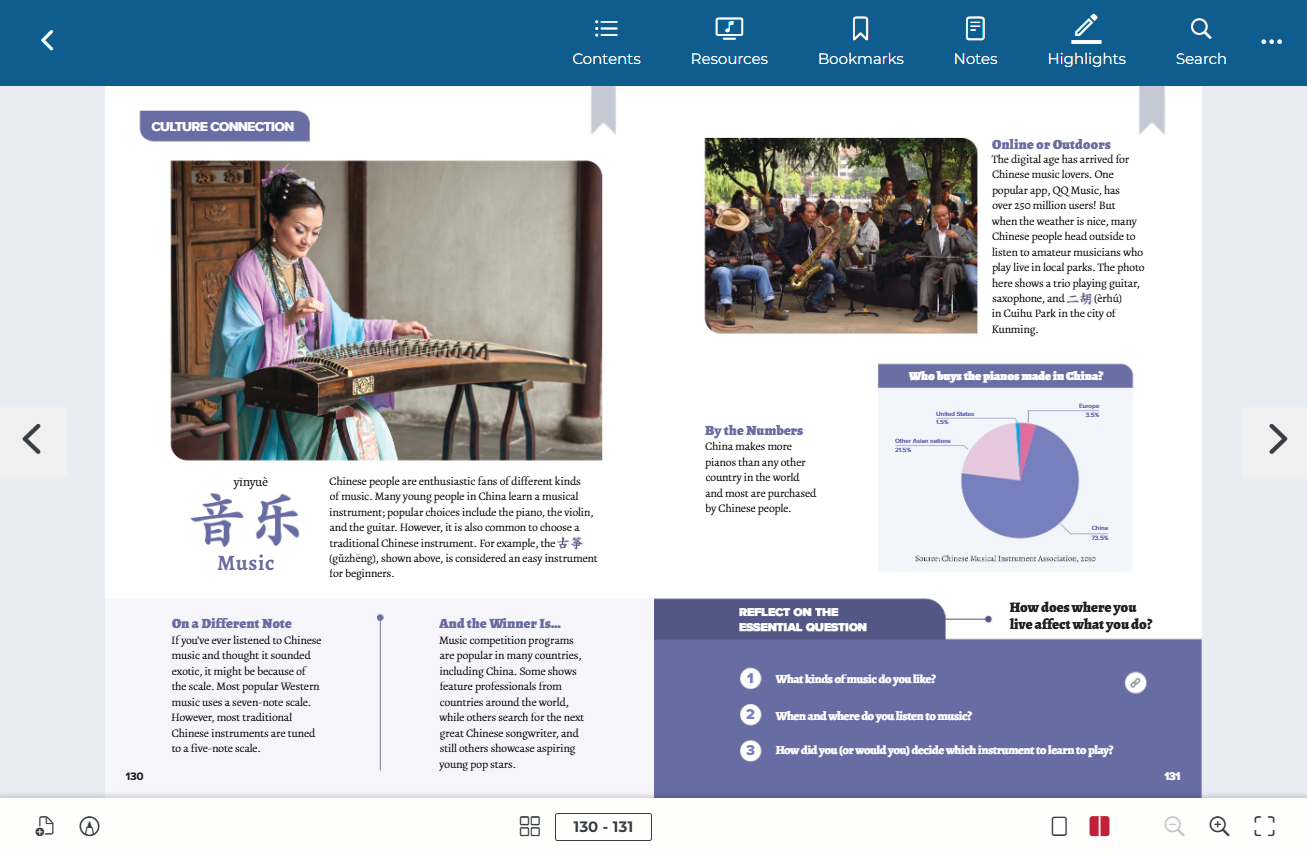
The main menu bar is found on the top of the page.
A. Contents: Click to navigate to a particular section of the book. Use the + icons to expand a section.
B. Resources: Click to navigate to a particular audio, video, or document. Use the + icons to expand a section.
C. Search: Click and type in the search box to search for a specific word or phrase in the book. Click on a search result to go to that page.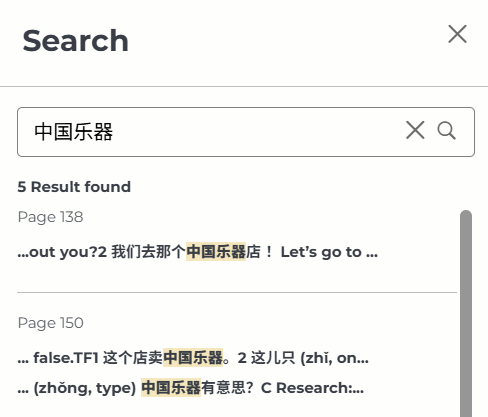
D. Help: Click the 3 dots for the Help guide.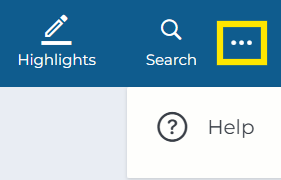
Not what you see? Click to see the old UI view.


Navigation
Tools to navigate the book can be found on the sides and at the bottom of the page.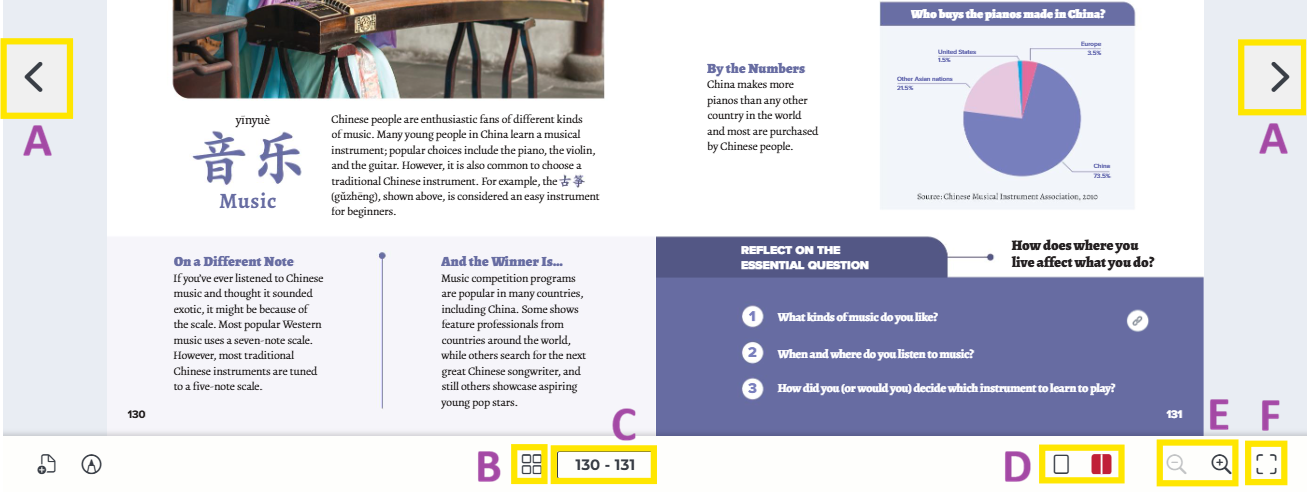
A. Next/Previous: Click the buttons on the left and right-hand sides to turn the page.
B. Thumbnail: Click on this icon at the bottom center of the page to see thumbnails of the nearby pages. Use the arrows to scroll, and click on these thumbnails to navigate to other pages in the book.

C. Page Number: See your current page number at the bottom center. To jump to another page, click on the current page number. You will see the Go To Page box open below. Enter a page number in the box, then press Enter on your keyboard.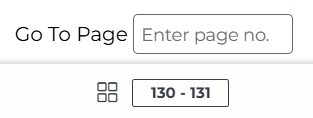
D. Page View: Use these icons to switch between 1-page and 2-page view.

- Left: 1-page view
- Right: 2-page view
E. Zoom In & Out: Use the magnifying glass icons to zoom in and out. When zoomed in on the book, these additional icons below will appear in the bottom-right.
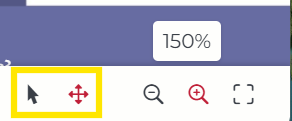
- Pointer (Select Mode): Select text or clicking hotspots.
- Arrows (Panning Mode): Click the page then drag to move around.
F. Full Screen: Click the icon in the bottom right corner to enter/exit full screen.
Not what you see? Click to see the old UI view.


Hotspots
Hotspots for any Resources (audio, video, documents) will also appear in the book. Click on a hotspot within the book to access that resource.
Audio
After clicking an audio hotspot, the audio player will open, as shown below.

You may do the following with the audio player:
Pause and play the audio.
Jump to a different part of the audio.
Adjust or mute the audio sound.
Adjust the playback speed. (Three dots)
Download the audio. (Three dots)

Arrows: Click to move the audio box between the bottom-right corner of the page and the center of the page.
 |  |
Video
Some titles have additional video content.
1. To play videos, click Resources, then click the + icon to expand the Web Links section.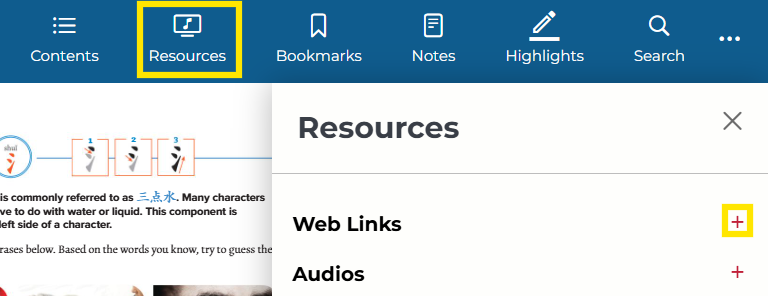
Not what you see? Click to see the old UI view.

2. Scroll down until you find the video you are looking for. Click to open the video in a new tab.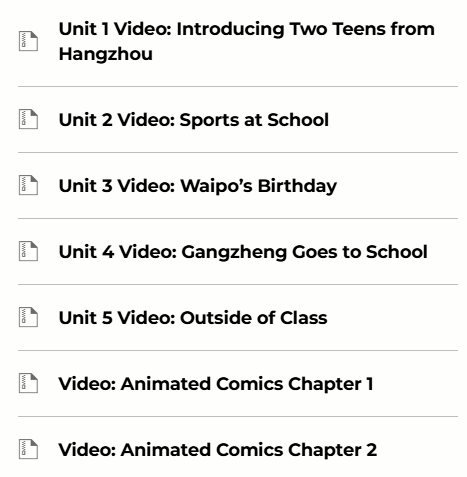
Not what you see? Click to see the old UI view.


You may do the following with the video player:
Pause and play the video.
Jump to a different part of the video.
Adjust or mute the video sound.
Enter or exit full screen.
Adjust the playback speed (clock icon).
Turn on subtitles ([CC] icon). By default, subtitles are off. The options are: simplified, traditional, English, and pinyin.
Document
Documents are any other resource files that are attached to the book, such as a Word document or a PDF.
1. Click on the document hotspot.

2. Click the document icon in the center to open/download the document.

Bookmarks
Use the Bookmark feature to save specific pages in the book. You can also access a list of all your bookmarks.
(Note: The student/teacher/school admin/district admin can view only those bookmarks that they have created themselves.)
1. Click the Bookmark icon in the top corner of any page that you wish to bookmark. It will turn red.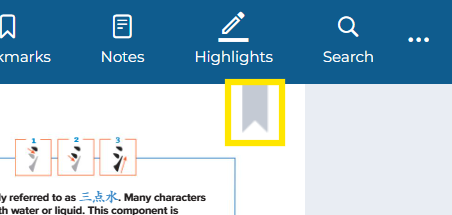
Not what you see? Click to see the old UI view.

2. To view all your bookmarks, click Bookmarks in the top menu. You can sort the bookmarks by latest, oldest, or page number.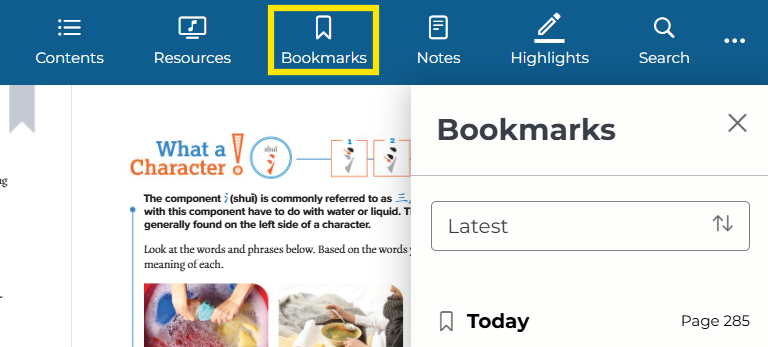
Not what you see? Click to see the old UI view.
To view all the bookmarks, click on the Bookmark icon on the left menu. You can sort the bookmarks by date created or page number.

3. If you want to remove a bookmark, click on the red bookmark at the top of the page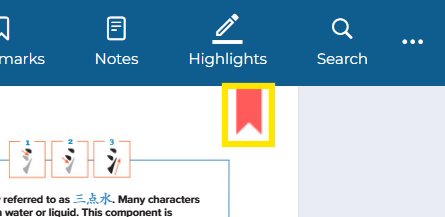
Not what you see? Click to see the old UI view.

Notes
Use the Notes feature to add notes throughout your book. You can create notes in two ways. Method 1 allows you to place a note anywhere on the page. Method 2 allows you to link the note to a word or lines of text. You can also access a list of all your notes.
(Note: The student/teacher/school admin/district admin can view only those notes that they have created themselves.)
Method 1: Create an "On-Tap" note
1. Click on the Add Notes icon in the bottom left corner. 
Not what you see? Click to see the old UI view.
Click on the "Add Note" icon on the top right corner.
2. Click anywhere on the page to add a note. Type in the note box and click Save.

- A note icon will be created on the page. Click on the note icon to edit or remove it.


- To reposition this icon on the page, click the Add Notes icon in the bottom left again, then click and drag the note you created to move it.
Method 2: Create a "Text Note"
1. Select a block of text with your cursor and click on the Add Notes icon in the bottom left corner.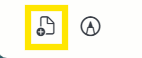
Not what you see? Click to see the old UI view.
Highlight a block of text and click on the "Add Note" icon on the top right corner.
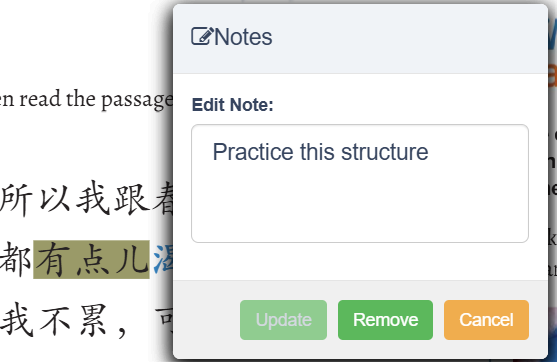
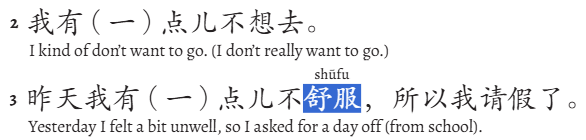
2. Add a note in the note box and click Save. A note will be linked to the selected text.

- You can click on the selected text to view, edit, and remove the note.
- You can view all your notes by clicking on Notes on the top menu. You can sort the notes by latest, oldest, or page number.
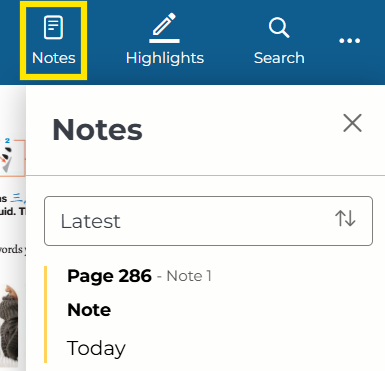
Not what you see? Click to see the old UI view.
You can view all the notes by clicking on the Notes icon on the left menu and sort the notes by date created or page number.

Highlights
The Highlight feature enables the user to highlight text in the eBook. You can also access a list of all your highlights.
(Note: The student/teacher/school admin/district admin can view only those highlights that they have created themselves.)
1. Select the text you want to highlight with your cursor.
2. Click on the Highlight icon on the bottom left corner.

Not what you see? Click to see the old UI view.
Click on the "Highlight" icon on the top right corner.
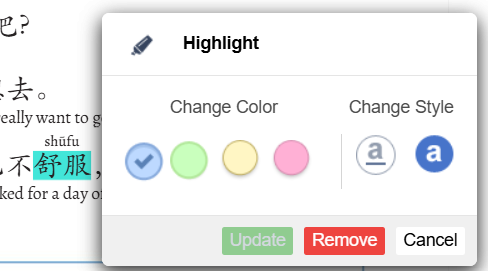
3. If desired, you can change the color or style of the highlight. The color options are: blue, green, yellow, and pink. The style options are: underline and highlight.
4. Click Save to highlight the selected text.
5. To delete, click on the highlighted text, then select Remove.
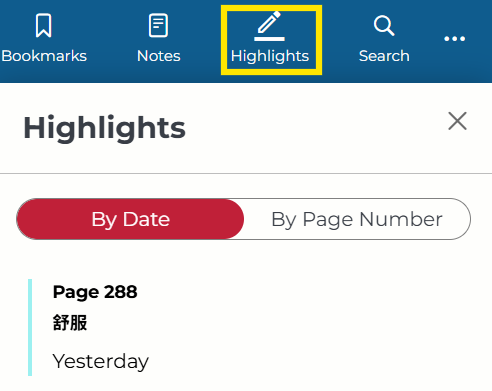
- You can view all the highlights by clicking Highlights on the top menu panel. You can sort the highlights by date entered or page number.
Not what you see? Click to see the old UI view.
You can view all the highlights by clicking on the highlight option on the left panel. You can sort the highlights by date entered and the page number.

Was this article helpful?
That’s Great!
Thank you for your feedback
Sorry! We couldn't be helpful
Thank you for your feedback
Feedback sent
We appreciate your effort and will try to fix the article